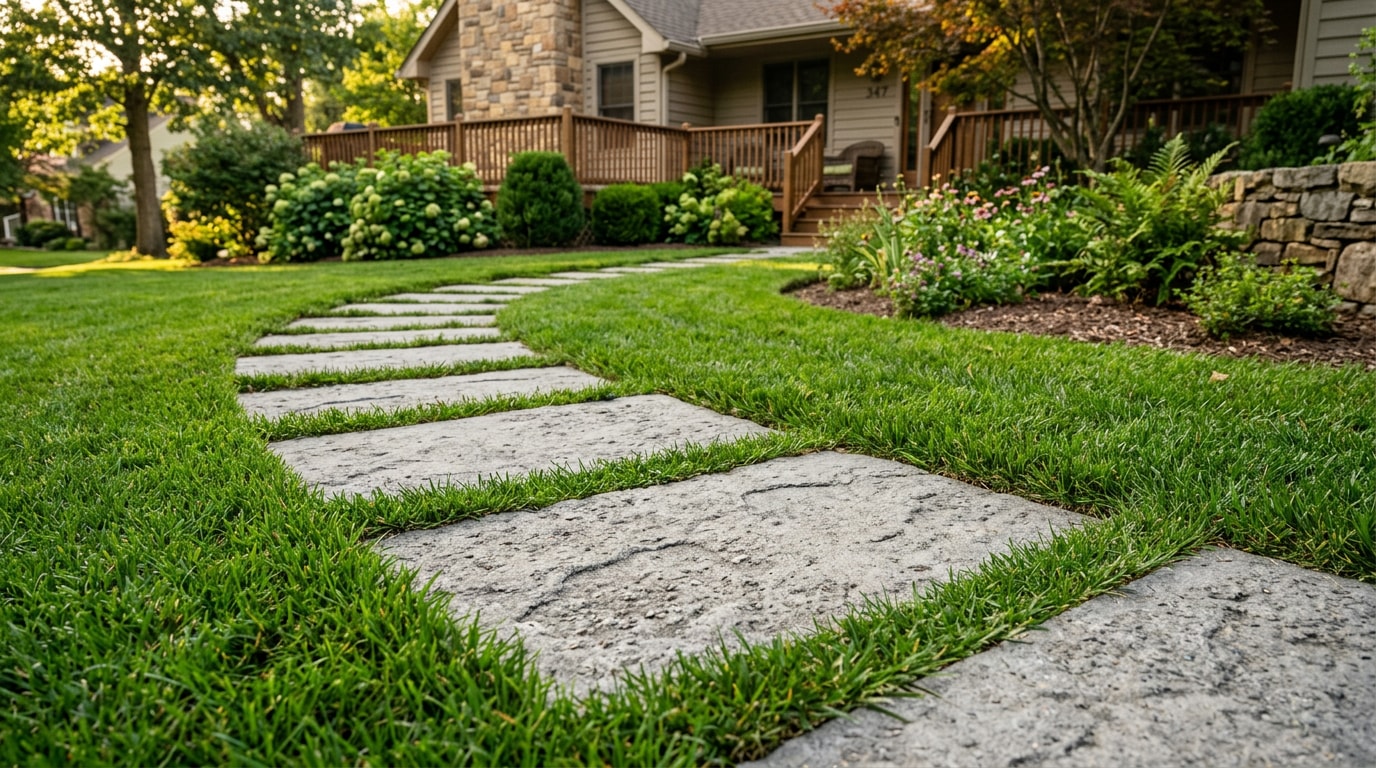
Concrete stepping stones in Middle River, MD give you a defined, low-cost path through a lawn or garden without the price tag of a poured walkway. Get the base depth and spacing wrong, though, and the stones heave, sink, or rock loose by the following spring. This guide walks through exactly what to dig, buy, and compact so your path holds up through Baltimore County's clay soil and freeze-thaw winters.
What You'll Need: Stones, Base Materials & Tools
Get your materials sorted before you pick up a shovel. Re-digging a hole because you guessed wrong on stone thickness wastes a weekend fast.
Stone selection:
- Concrete stepping stones should run at least 1.5 to 2 inches thick to resist cracking under foot traffic and seasonal ground movement.
- Precast concrete pavers are more uniform and budget-friendly.
- Natural stone (flagstone, fieldstone) looks more organic but costs more and varies in thickness, which complicates leveling.
Base materials:
- Crushed gravel (¾-inch) for drainage
- Stone dust or coarse builder's sand for the setting bed
- Polymeric sand, gravel, or soil for the finished joints, depending on your fill choice
Skipping the gravel and sand base is the single most common reason a stepping stone path fails early. These layers are what keep each stone from sinking or wobbling once the ground freezes and thaws a few times.
Tools: shovel, rubber mallet, carpenter's level, hand tamper, spray paint or chalk for marking, gloves, and safety glasses. None of this is specialized rental equipment, which is why the project is a popular weekend DIY job.
If you'd rather compare paver options or get stone recommendations suited to your yard, our concrete contractor team can walk through choices before you buy.
Spacing and Layout: How Far Apart Should Stepping Stones Be?
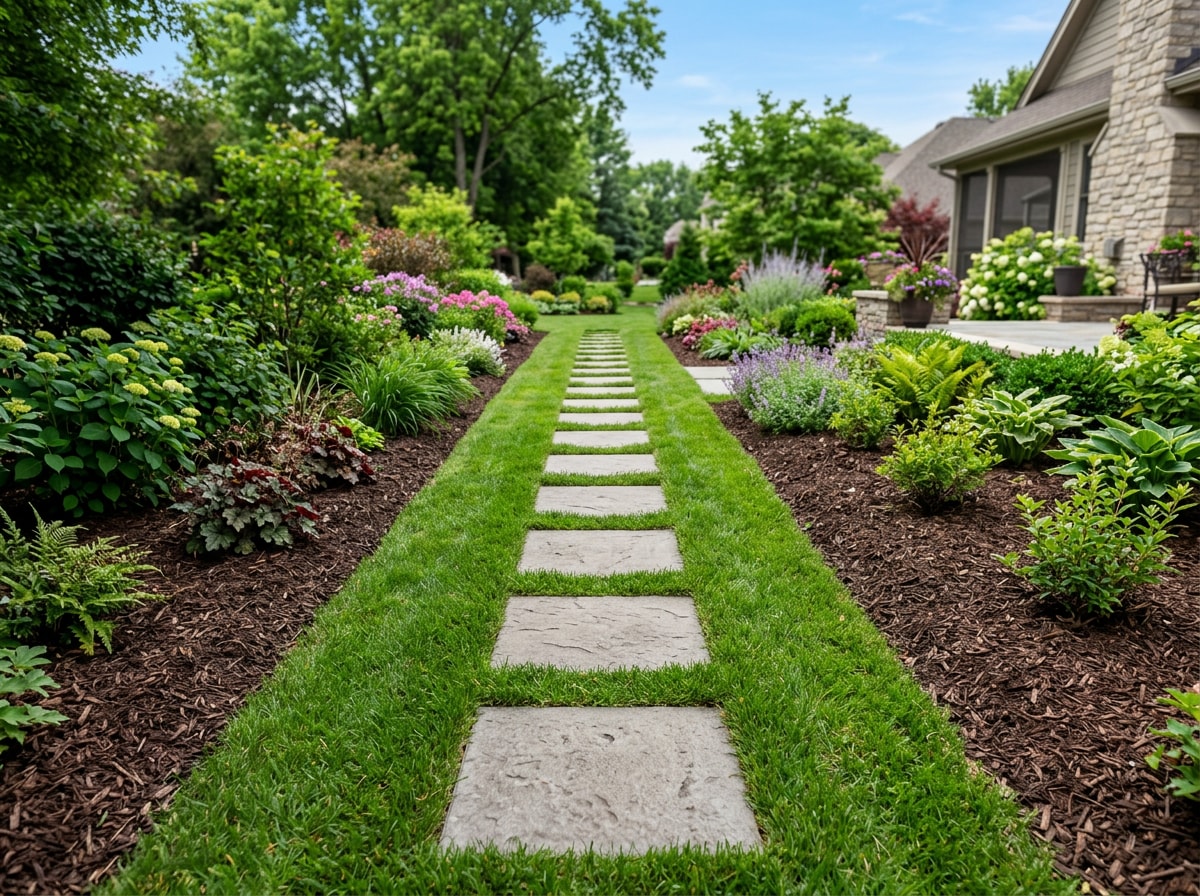
Spacing is measured two ways: center-to-center (how comfortable the walk feels) and edge-to-edge (the visible gap you'll fill). Most residential guides land in a similar range, with adjustments for who's using the path.
| Path Type | Center-to-Center Spacing | Typical Edge Gap |
|---|---|---|
| Standard adult stride | 18–24 inches | 3–6 inches |
| Kids / elderly users | 12–18 inches | 2–4 inches |
| Curved path, inside edge | 16–18 inches | 2–3 inches |
| Curved path, outside edge | 22–24 inches | 4–6 inches |
Edge gap also depends on your fill material. Grass fill needs more room for roots to establish, while gravel or ground cover can sit tighter to the stone edge.
Lay the stones out above ground first and walk the path before digging anything. It's far easier to shift a stone two inches now than to re-excavate after the base is compacted.
How Deep to Dig: Excavation Depth by Stone Thickness
Excavation depth should equal your stone's thickness plus 1.5 to 2 inches for the gravel and sand base beneath it. For a standard 2-inch-thick stone, that works out to roughly 3.5 to 4 inches of total excavation below grade.
This keeps the top of each stone flush with, or just slightly above, the surrounding lawn. That prevents tripping hazards and keeps mower blades from catching an edge.
Sandy, well-draining soil can stay toward the lower end of that range. Clay-heavy soil, which is most of Middle River and Baltimore County, calls for the fuller depth to keep the base stable through winter.
Paver sand used for leveling should meet a recognized grading standard so it compacts evenly and doesn't wash out under the stones. ASTM's C33 specification defines the requirements for grading and quality of fine and coarse aggregate used in concrete , and it's the standard most building supply yards reference when selling concrete sand. You can review the full ASTM C33 specification if you want the exact sieve limits.
Step-by-Step Installation
The sequence stays the same regardless of stone size or path length: excavate, build the base, set the stones, fill the gaps.
Step 1: Excavate the Site
- Lay each stone where you want it and trace around it with marking paint or a trowel.
- Set the stone aside and dig each outline about 2 to 3 inches wider than the stone itself.
- Dig to the depth calculated above, typically 3 to 4 inches below grade for a standard setup.
- Clear out grass, roots, and large rocks so the base material sits on solid, even ground.
Call 811 before digging near any utility lines. 811 is the free national before-you-dig service, and anyone who plans to dig should contact 811 or their state center's website to request that buried utilities be marked with paint or flags. Request your markings a few days ahead through call811.com so you're not waiting on install day.
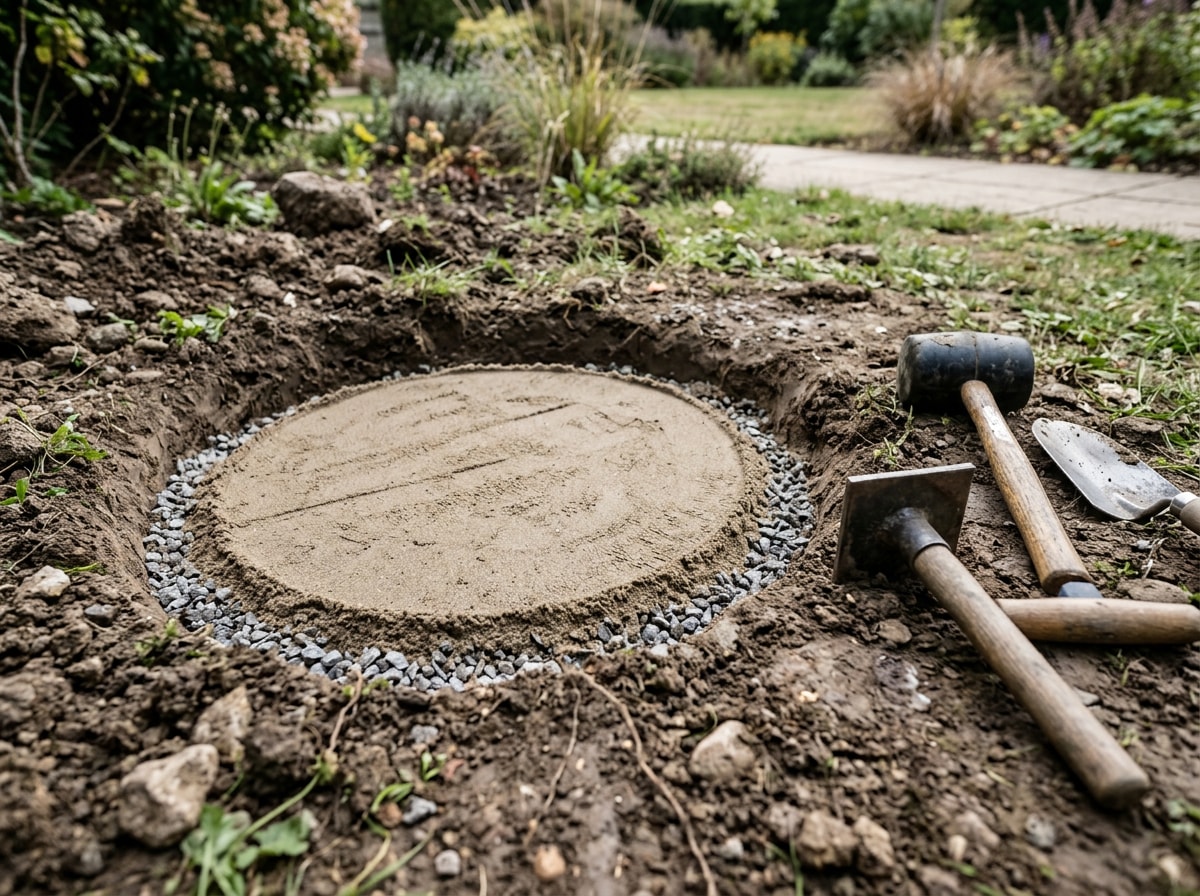
Step 2: Build a Stable Gravel and Sand Base
Recommendations vary across installation guides, some call for 2 to 3 inches of gravel, others 2 to 4 inches topped with 1 to 1.5 inches of sand. For Middle River's clay-heavy soil, lean toward the thicker end of that range.
Clay doesn't drain as quickly as sandy soil, and Maryland's freeze-thaw winters push and pull the ground repeatedly. A deeper gravel layer gives water somewhere to go before it reaches the sand bed, which cuts down on frost heave shifting your stones each spring. We've reset enough stepping stone paths across Baltimore County every March to know that the ones with a thin base are always the ones that call us back.
Compact the gravel in lifts, a few inches at a time rather than all at once, then add 1 to 1.5 inches of coarse sand on top and screed it flat with a straight board. If your yard has standing-water trouble spots near the path route, it's worth checking a grading and compaction fix before you set stones over soggy ground. Our own grading and compaction service handles this when a path site needs more than a shovel can fix.
Step 3: Set and Level Each Stone
Press each stone firmly into the sand bed with a slight twisting motion to seat it evenly. Check level front-to-back and side-to-side with a carpenter's level. Tap low corners down gently with a rubber mallet rather than forcing the whole stone.
Maintain a slight pitch, around ¼ inch per foot, directing water away from your house or any nearby structures. This keeps water moving off the path instead of pooling against a foundation.
Step 4: Fill the Gaps Between Stones
| Fill Material | Maintenance | Best For |
|---|---|---|
| Soil + grass seed | Mowing around stones | Blending into an existing lawn |
| Pea gravel | Low, but can scatter | Garden paths, looser style |
| Polymeric sand | Low, resists weeds | High-traffic paths |
| Moss / ground cover | Moderate | Shaded, softer-look paths |
Pick based on how much upkeep you want and how the path gets used. A high-traffic path usually does best with polymeric sand; a garden path can get away with a looser gravel or ground cover fill.
Mortar-Set Stepping Stones for Permanent Paths
Sand-set stones work well for most residential paths. A mortar-set installation makes more sense for high-traffic areas or anywhere you want a path that absolutely cannot shift.
The process starts the same way: excavate and add a gravel base. Instead of a sand setting layer, spread a 1 to 1.5 inch mortar bed and set each stone directly into it. Let the mortar cure for at least 24 hours without foot traffic before using the path.
Mortar-set installation takes more time and costs more than sand-set work, so it's worth it mainly where permanence matters more than flexibility. If you're unsure which approach fits your project, our concrete repair crew can look at the site and tell you straight which method will actually hold up.
Maintenance Tips
A little regular upkeep keeps a stepping stone path from sinking or shifting:
- Sweep debris off the stones periodically so dirt and leaves don't trap moisture against the surface.
- Pull weeds from the gaps before they root deeply enough to disturb the base.
- Spot-clean mildew or algae with a mild outdoor cleaner and a stiff brush. Skip the pressure washer, which can erode jointing material over time.
- Check for low or tilted stones each spring after freeze-thaw season and reseat them before they become a trip hazard.
If you're also weighing decorative concrete for a patio or walkway nearby, our guide on modern stamped concrete patterns in Middle River covers pattern and color options that pair well with a stepping stone path.
When to Call a Pro Instead of DIYing It
A straight, short path through a lawn is a reasonable weekend project. A path that crosses a slope, needs drainage work, or ties into an existing patio or driveway is a different job entirely. Poor grading under a stepping stone path doesn't just cause wobbly stones; it can redirect water toward a foundation, which is a far more expensive fix later.
SEJ Paving installs concrete walkways, patios, and site prep work throughout Middle River and the rest of Baltimore County. If your project includes excavation, grading, or a patio tie-in beyond a basic stepping stone run, get a free estimate before you start digging. Learn more about our full range of concrete and paving work on our homepage.
FAQ
How far apart should stepping stones be?
Space stones 18 to 24 inches apart center-to-center for a natural adult stride. Tighten that to 12 to 18 inches for paths used mainly by kids or elderly family members.
How thick should concrete stepping stones be?
At least 1.5 to 2 inches thick. Thinner stones look fine in the store but tend to crack or shift once set in the ground, especially through freeze-thaw cycles.
What's the best base for concrete stepping stones?
A layer of compacted ¾-inch crushed gravel topped with 1 to 1.5 inches of coarse sand or stone dust. The gravel handles drainage; the sand lets you fine-tune leveling when you set the stone.
How do you keep stepping stones from sinking?
Stepping stones sink when the gravel base wasn't compacted properly or was too thin for the soil type. Compacting gravel in lifts and using the fuller base depth in clay-heavy soil gives each stone stable support that resists settling.
Should stepping stones be level or sloped?
Each stone should be level front-to-back and side-to-side so it's safe to walk on. The overall path should follow a gentle slope, around ¼ inch per foot, to help water drain away rather than pool.
How do you make a walkway with stepping stones?
Mark your layout, excavate each stone outline to the proper depth, build a compacted gravel and sand base, then set and level each stone before filling the gaps. The full sequence is covered step-by-step above.
How do you keep stepping stones from moving?
Stones stay put when the base is compacted correctly, excavation depth matches stone thickness plus base material, and gaps are filled with a jointing material like polymeric sand. Skipping any one of these steps is usually why a stone starts to wobble within the first year.